When it comes to drywall installation, the difference between amateur and professional results often comes down to one crucial element: your fastener technique. Proper gypsum screw installation isn’t just about securing panels it’s about creating a flawless foundation for a perfect finish. Whether you’re a seasoned contractor or a DIY enthusiast, mastering these techniques will elevate your projects to the next level.
Selecting the Right Gypsum Screws for Your Project
The journey to a flawless finish begins with choosing the appropriate gypsum screws. In regions like Telangana, where construction standards can vary, working with reputable gypsum screw dealers ensures you’re starting with quality materials.
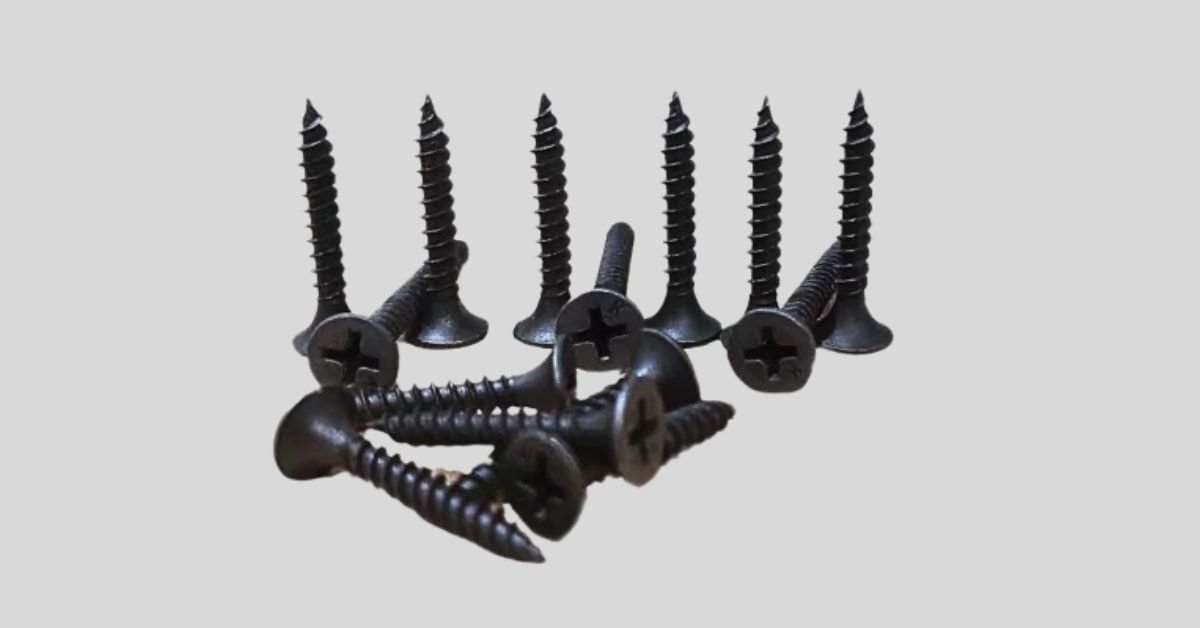
Premium gypsum screws feature several key characteristics:
- Sharp, self-drilling points that penetrate drywall cleanly
- Deep-cut threads for secure holding power
- Bugle heads that countersink perfectly without tearing paper
- Phosphate or zinc coating for corrosion resistance
Remember that screw length matters significantly. For standard 1/2-inch drywall attached to wood studs, 1-1/4″ screws are typically ideal. When working with metal framing, consider using self-drilling screws specifically designed for metal applications.
Essential Tools for Professional Installation
Before you begin, gather these must-have tools for precision gypsum screw installation:
- A quality drywall screw gun with adjustable depth settings
- Magnetic bit holders to keep screws positioned correctly
- Dimpler bits designed specifically for drywall applications
- Drywall T-square for marking stud locations accurately
Professional contractors in Punjab’s construction industry often recommend variable-speed screw guns with torque adjustment capabilities for optimal control during installation.
Proper Technique: The 5-Step Process
Follow these five critical steps for flawless gypsum screw installation:
- Mark your studs precisely – Use a stud finder and mark locations clearly with a pencil. Screw placement should be 12″ apart vertically on walls and 8″ apart on ceilings.
- Position screws correctly – Place screws at least 3/8″ from panel edges to prevent crumbling while maintaining proper holding strength.
- Drive at the right angle – Hold the screw gun perpendicular to the surface. Angled screws reduce holding power and create finishing challenges.
- Set the perfect depth – Adjust your screw gun so fasteners sit just below the surface without tearing the paper facing. The screw head should create a slight dimple that’s easily filled with compound.
- Check your work – Run your hand across the installed screws to feel for any that protrude or sit too deep. Make adjustments as needed.
Common Installation Mistakes to Avoid
Even experienced professionals from Kala screw manufacturers in Andhra Pradesh acknowledge these frequent installation errors:
- Overdriving screws – When screws break the paper surface, the holding power is significantly compromised
- Underdriving screws – Protruding screws will interfere with finishing and may show through paint
- Inadequate screw count – Using too few screws leads to panel movement and eventual finish problems
- Missing the framing – Screws that miss studs or joists provide zero holding power
- Improper spacing – Placing screws too close to edges causes drywall to crumble
Regional Considerations for Indian Construction
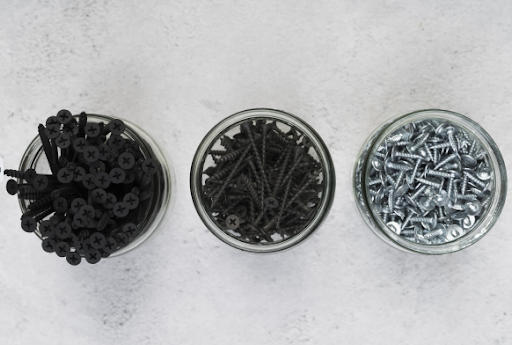
Construction practices in India’s diverse regions have unique considerations. In humid coastal areas of Telangana and Andhra Pradesh, using properly coated screws is essential to prevent premature corrosion. The best gypsum screw dealers in Telangana offer phosphate-coated options specifically designed for these conditions.
In Punjab’s construction sector, where both traditional and modern building methods coexist, professionals often recommend screws with additional corrosion protection for projects with longer expected lifespans.
Finishing Touches: After Installation
The way you install gypsum screws directly impacts the finishing process:
- Ensure all screw heads are slightly recessed in a small dimple
- Remove any loose gypsum dust from screw areas
- Apply joint compound over screw heads in three thin coats
- Sand between coats for a smooth, invisible finish
By following these techniques, you’ll create a surface that appears seamless once painted, with no visible evidence of fasteners.
Conclusion
Whether you’re working with supplies from gypsum screw dealers in Telangana, Kala screw manufacturers in Andhra Pradesh, or construction suppliers in Punjab, proper installation technique remains the foundation of quality drywall work. By selecting appropriate fasteners, using the right tools, and adhering to these professional installation methods, you’ll achieve the flawless finishes that distinguish expert craftsmanship.
Frequently Asked Questions
What’s the ideal spacing for gypsum screws on walls and ceilings?
For walls, place screws 12 inches apart along studs. For ceilings, reduce spacing to 8 inches along joists to provide additional support against gravity. Always follow local building codes, as requirements may vary by region.
How can I tell if I’ve driven a gypsum screw too deep?
A properly driven screw creates a slight dimple without tearing or breaking the paper surface. If you can see the gypsum core exposed around the screw head, you’ve driven it too deep, compromising its holding strength.
Are self-drilling gypsum screws worth the extra cost?
Absolutely. Self-drilling screws eliminate the need for pre-drilling, save significant installation time, and create cleaner penetrations. This is especially valuable when working with metal studs or harder wood species.
Can I use the same gypsum screws for both wooden and metal studs?
While some screws work with both materials, specialized screws will deliver better results. For metal studs, use fine-thread screws with self-drilling points. For wood studs, coarse-thread screws provide superior holding power.
How do I fix a screw that’s been driven too deep into the drywall?
Rather than trying to adjust an overdriven screw, install a new screw properly about 2 inches away from the problematic one. Fill the damaged area with joint compound during the finishing process.