When it comes to working with engineered wood like particle board or MDF, achieving strong and durable joints depends on one critical factor—how you install your chipboard screws. Whether you are a professional carpenter, modular furniture manufacturer, or DIY enthusiast, using the right installation technique ensures long-lasting strength, neat finishing, and zero structural issues over time.
Selecting the Right Chipboard Screws for Your Project
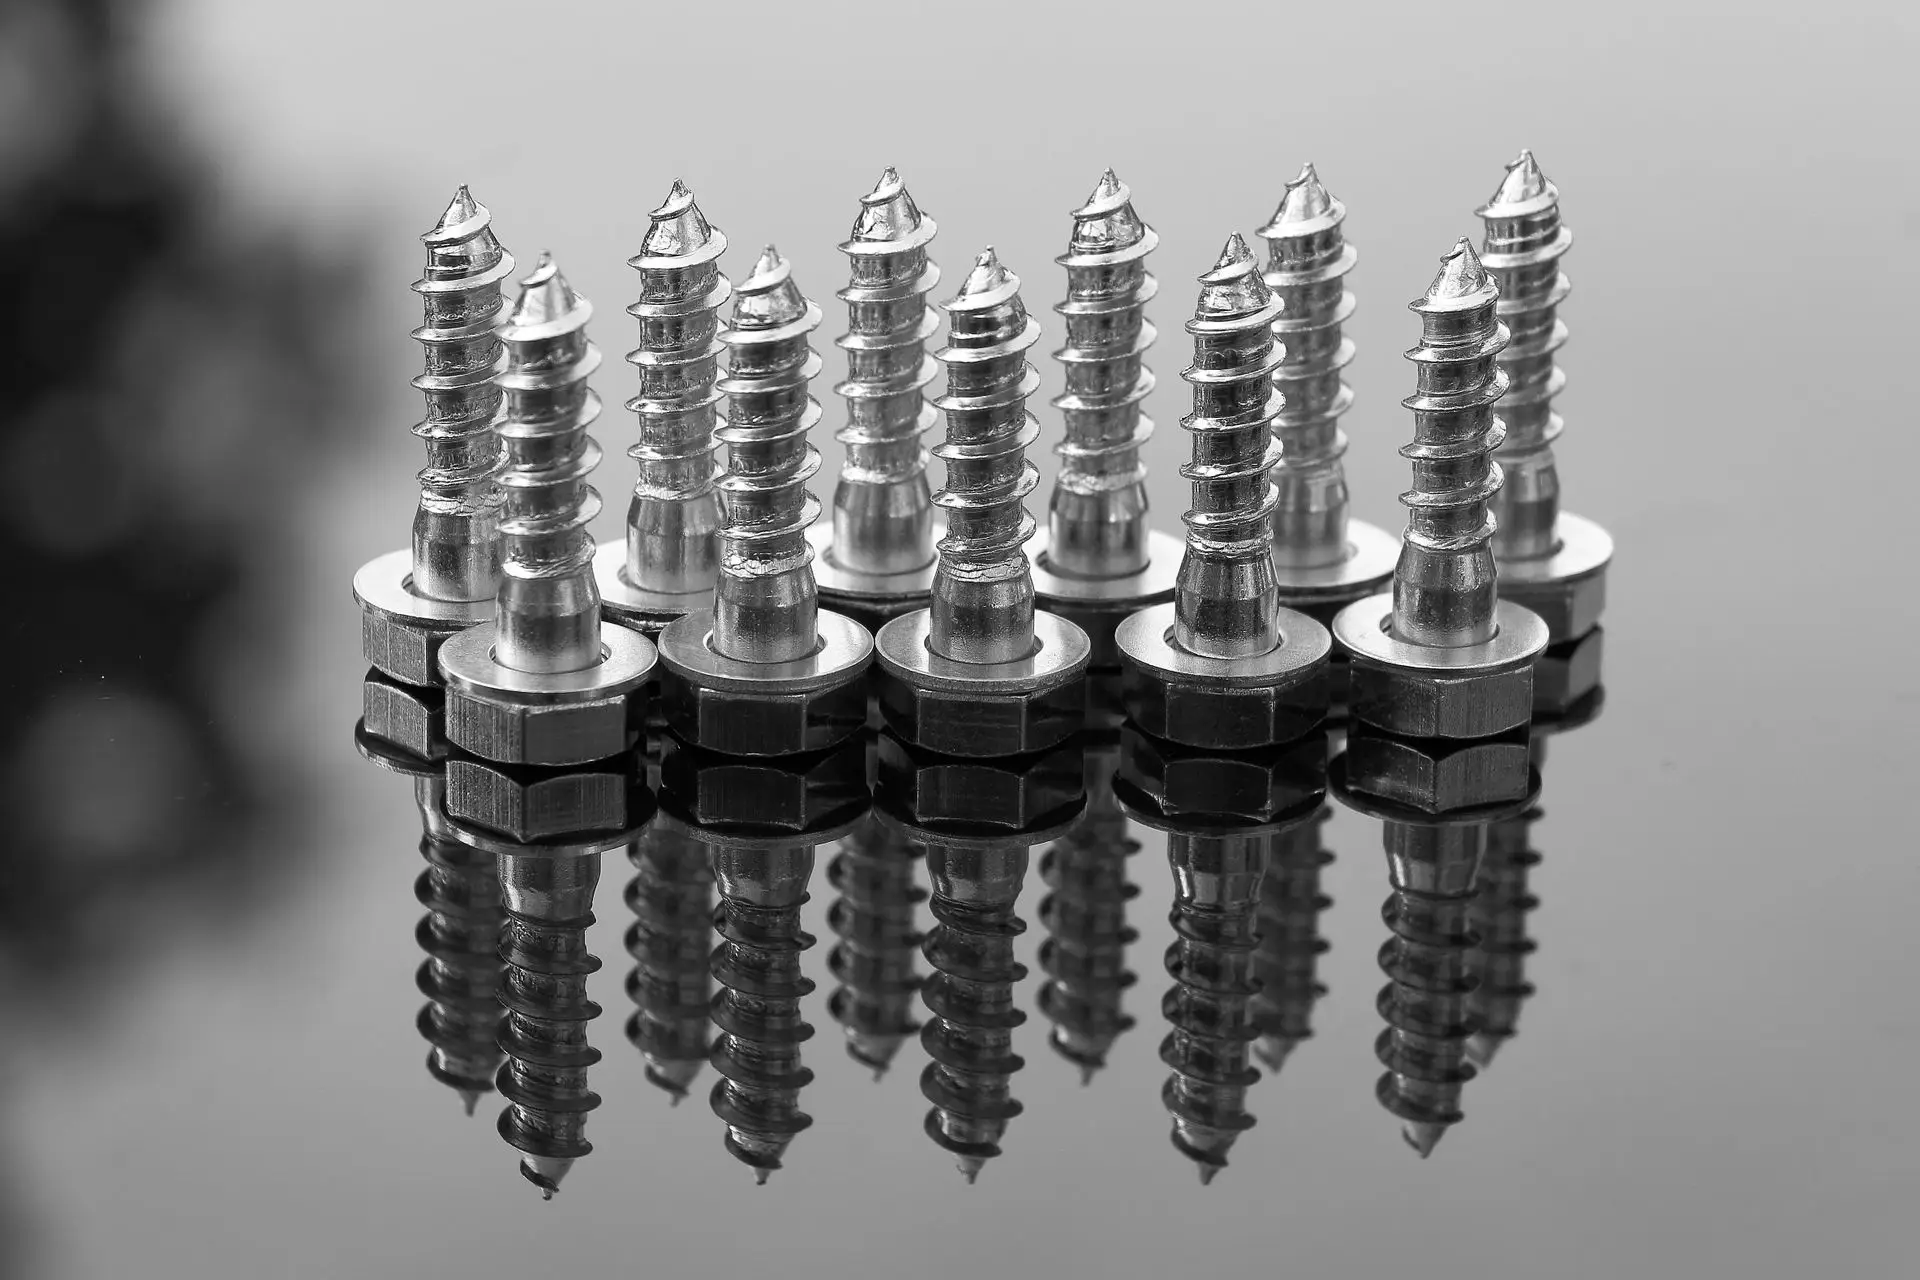
The foundation of a successful project begins with choosing high-quality chipboard screws. In India, where furniture manufacturing is rapidly growing across cities like Delhi, Mumbai, and Hyderabad, sourcing screws from reliable suppliers is essential.
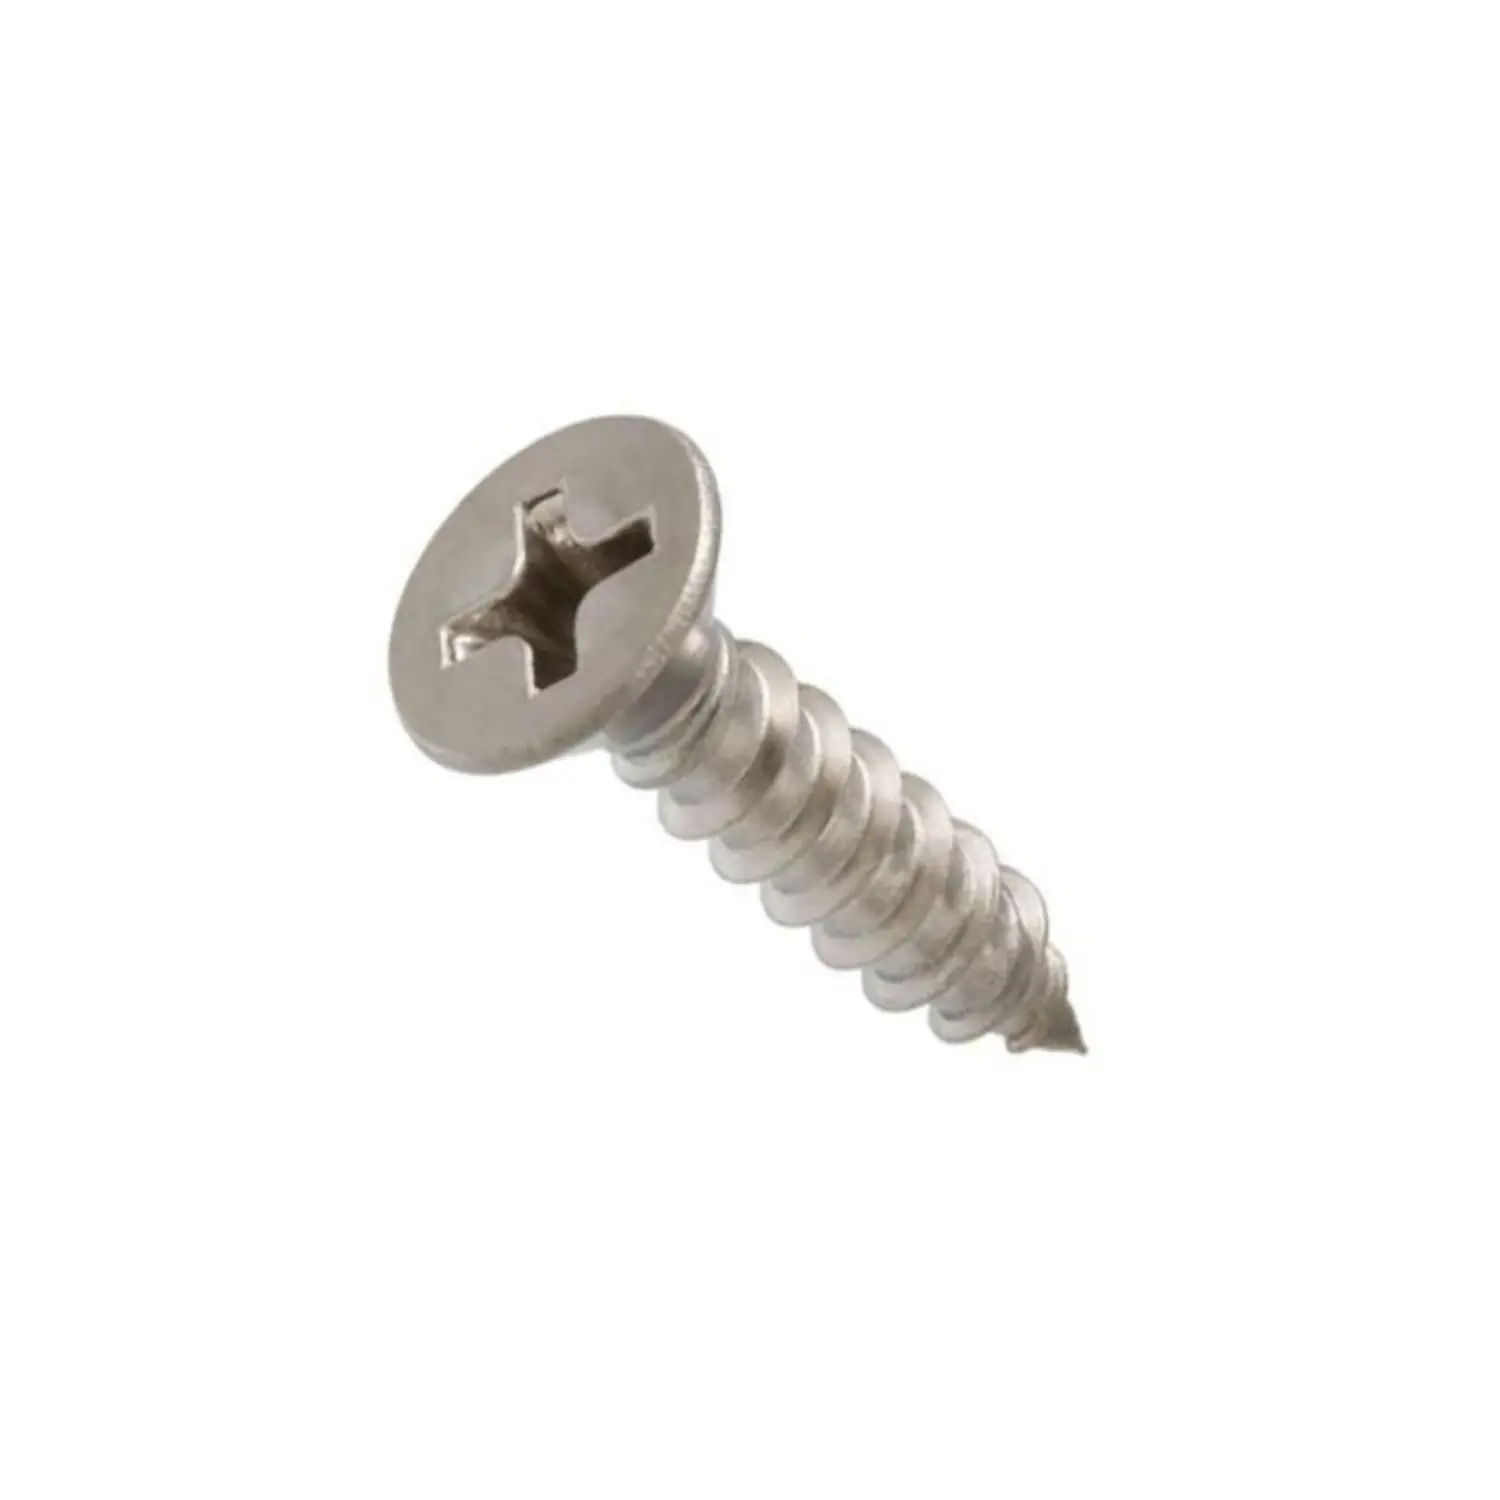
Premium chipboard screws come with:
- Sharp, self-tapping points for easy penetration
- Deep, coarse threads for maximum grip in softwood and MDF
- Countersunk heads for a flush and clean finish
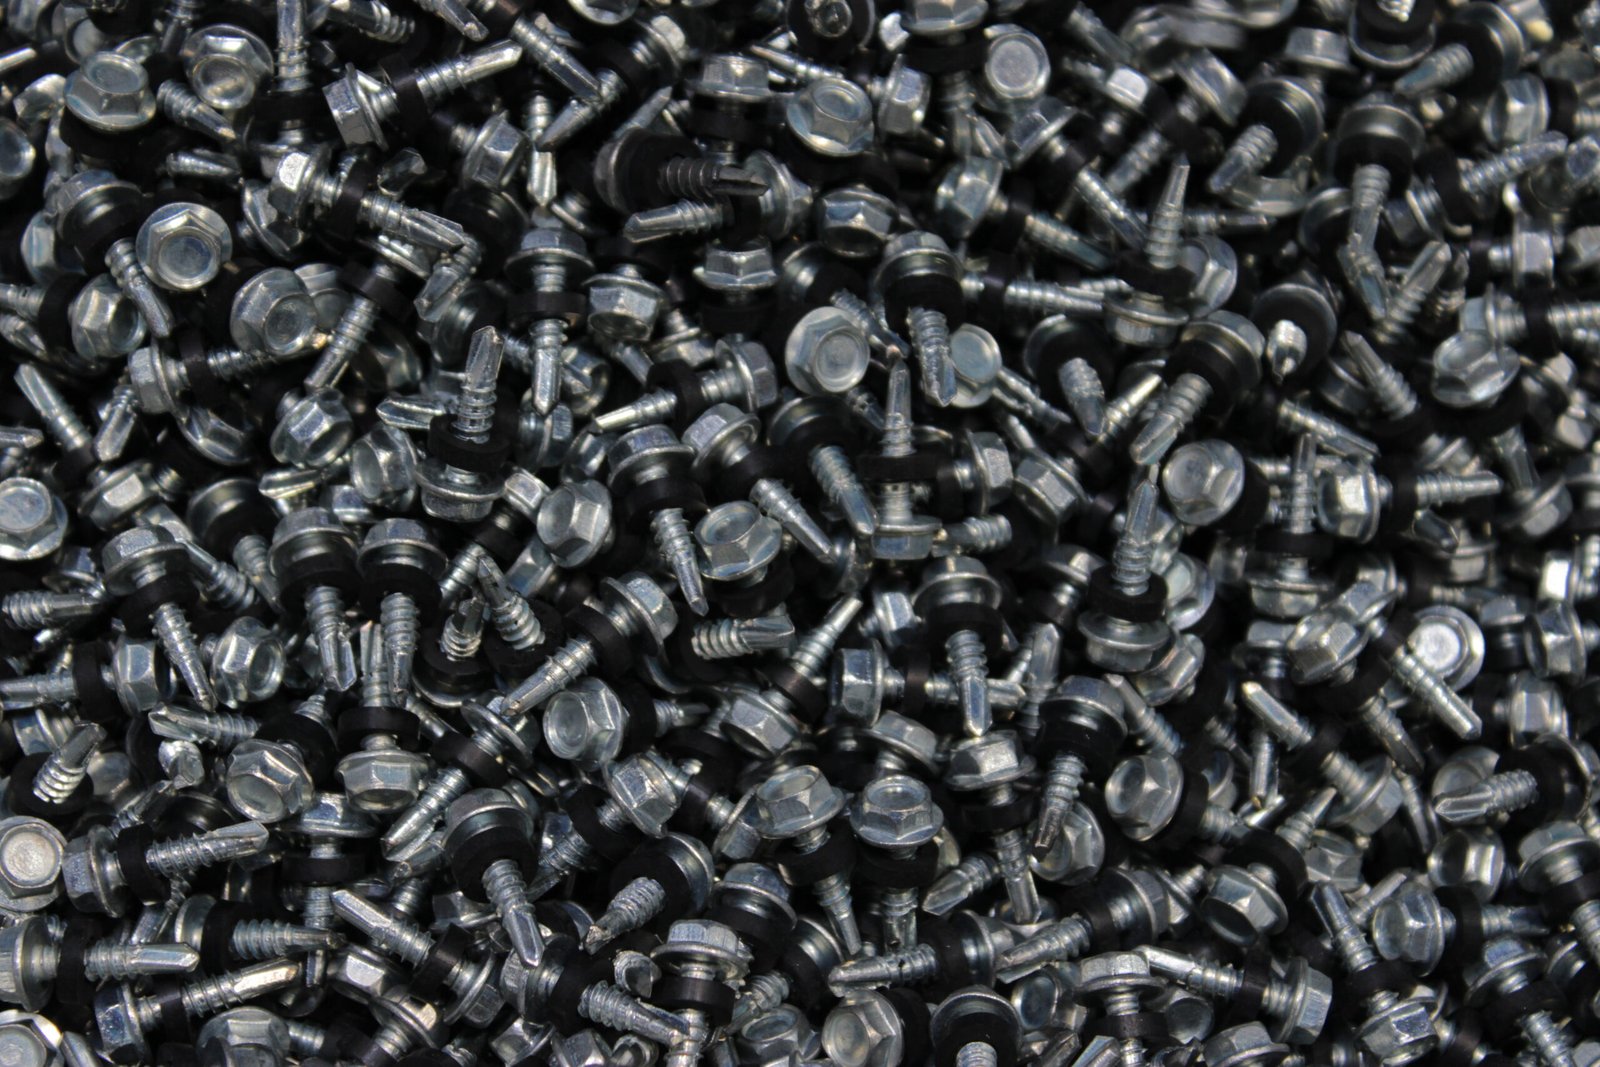
- Zinc or yellow passivated coating for corrosion resistance
Choosing the correct screw length is equally important. For standard chipboard panels, screws ranging from 25mm to 50mm are commonly used depending on thickness. Using the wrong size can weaken joints or damage the board.
Essential Tools for Professional Installation
Before starting, ensure you have the right tools for precise installation:
- Drill machine with adjustable torque control
- Pozidriv screwdriver bits (commonly used for chipboard screws)
- Measuring tape and marking pencil
- Clamps to hold boards firmly in place
Professionals in India’s modular furniture industry recommend using a variable-speed drill to maintain better control and avoid overdriving screws.
Proper Technique: Step-by-Step Process
Follow these steps for strong and durable fixing:
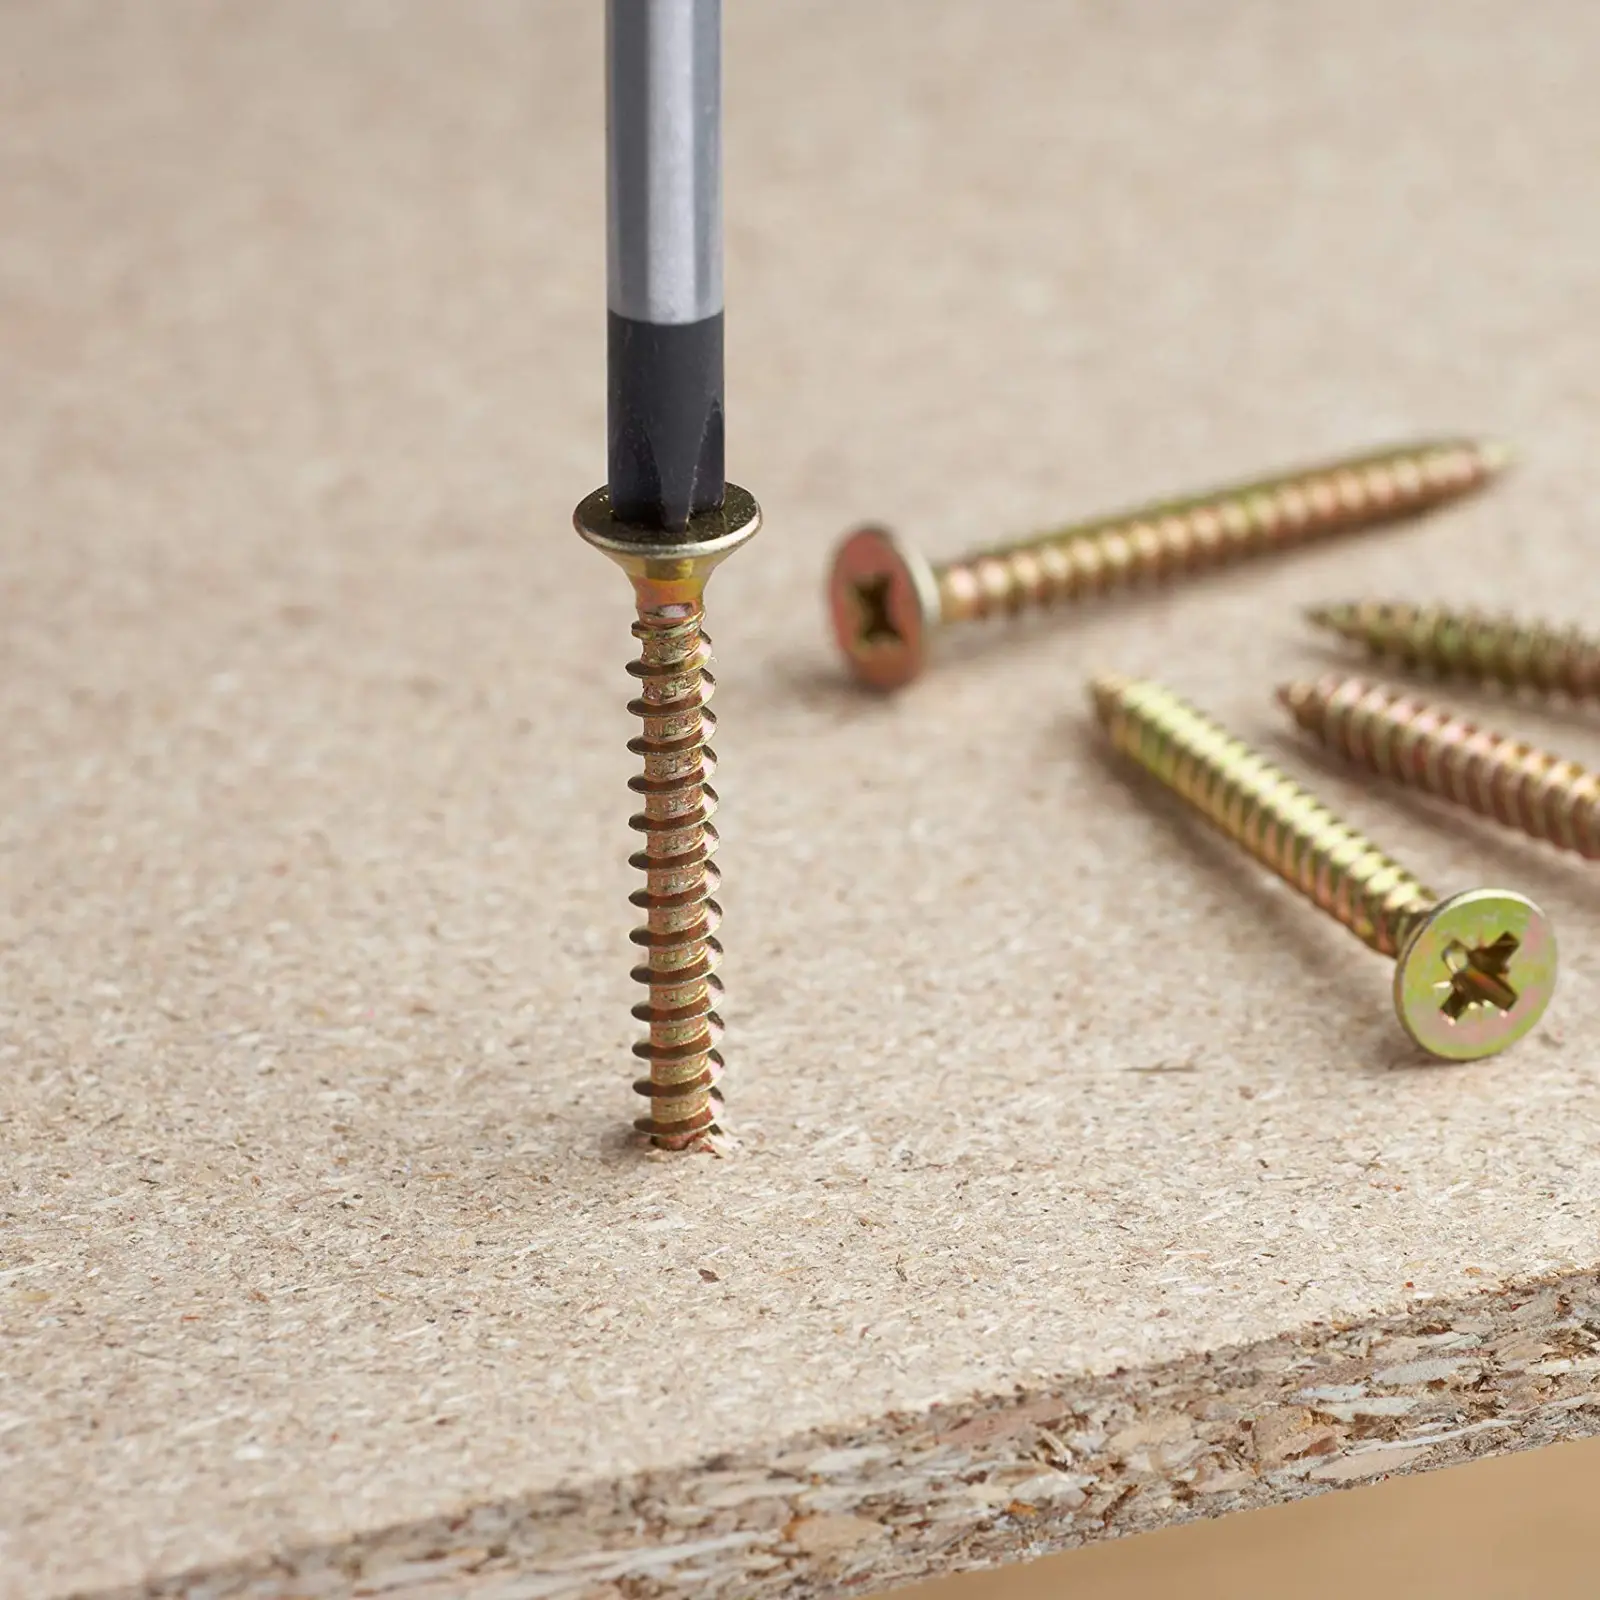
- Mark the Position Clearly: Accurate marking ensures proper alignment and prevents errors during assembly.
- Drill Pilot Holes: Pilot holes are crucial, especially in dense MDF boards. They prevent splitting and ensure smooth screw entry.
- Align the Boards Properly: Use clamps to keep boards steady and avoid movement during screwing.
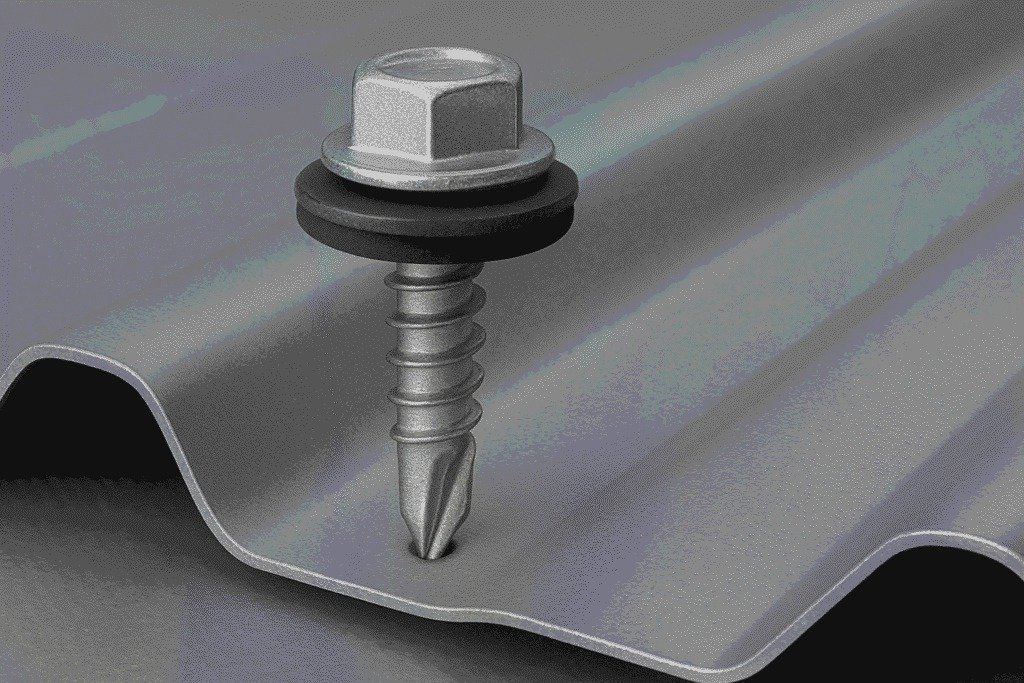
- Drive Screws Straight: Always insert screws at a 90-degree angle. Angled screws reduce holding strength and affect finishing.
- Control the Depth: Drive the screw until the head sits flush with the surface. Avoid sinking it too deep.
Common Installation Mistakes to Avoid
Even experienced carpenters make mistakes that compromise durability:
- Skipping pilot holes, leading to cracks
- Over-tightening screws, damaging the board
- Using incorrect screw length
- Misaligned screw placement
Avoiding these mistakes ensures better structural integrity and a professional finish.
Regional Considerations in India
India’s climate varies significantly, and this impacts material performance. In humid regions like coastal Maharashtra or South India, using corrosion-resistant screws is essential to prevent rusting. In dry regions like North India, maintaining proper installation technique is more critical for long-term durability.
Finishing Touches After Installation
After installing chipboard screws:
- Ensure all screw heads are flush
- Clean the surface from dust
- Apply wood filler if needed
- Sand lightly for a smooth finish
These finishing steps enhance the overall appearance and durability of the furniture.
Conclusion
Strong furniture begins with strong fastening. By selecting the right chipboard screws, using proper tools, and following professional techniques, you can ensure durable and long-lasting results. Whether you’re working on modular kitchens, wardrobes, or office furniture, proper screw installation makes all the difference.